Using the Link Box Block
Category: Blocks & Content
The Link Box block is your go-to for adding individual links with a title, description, and even a custom icon 🔗. Think of it as a fancy button that can direct visitors to any URL (your website, a product, a blog post, etc.). Here’s how to use it:
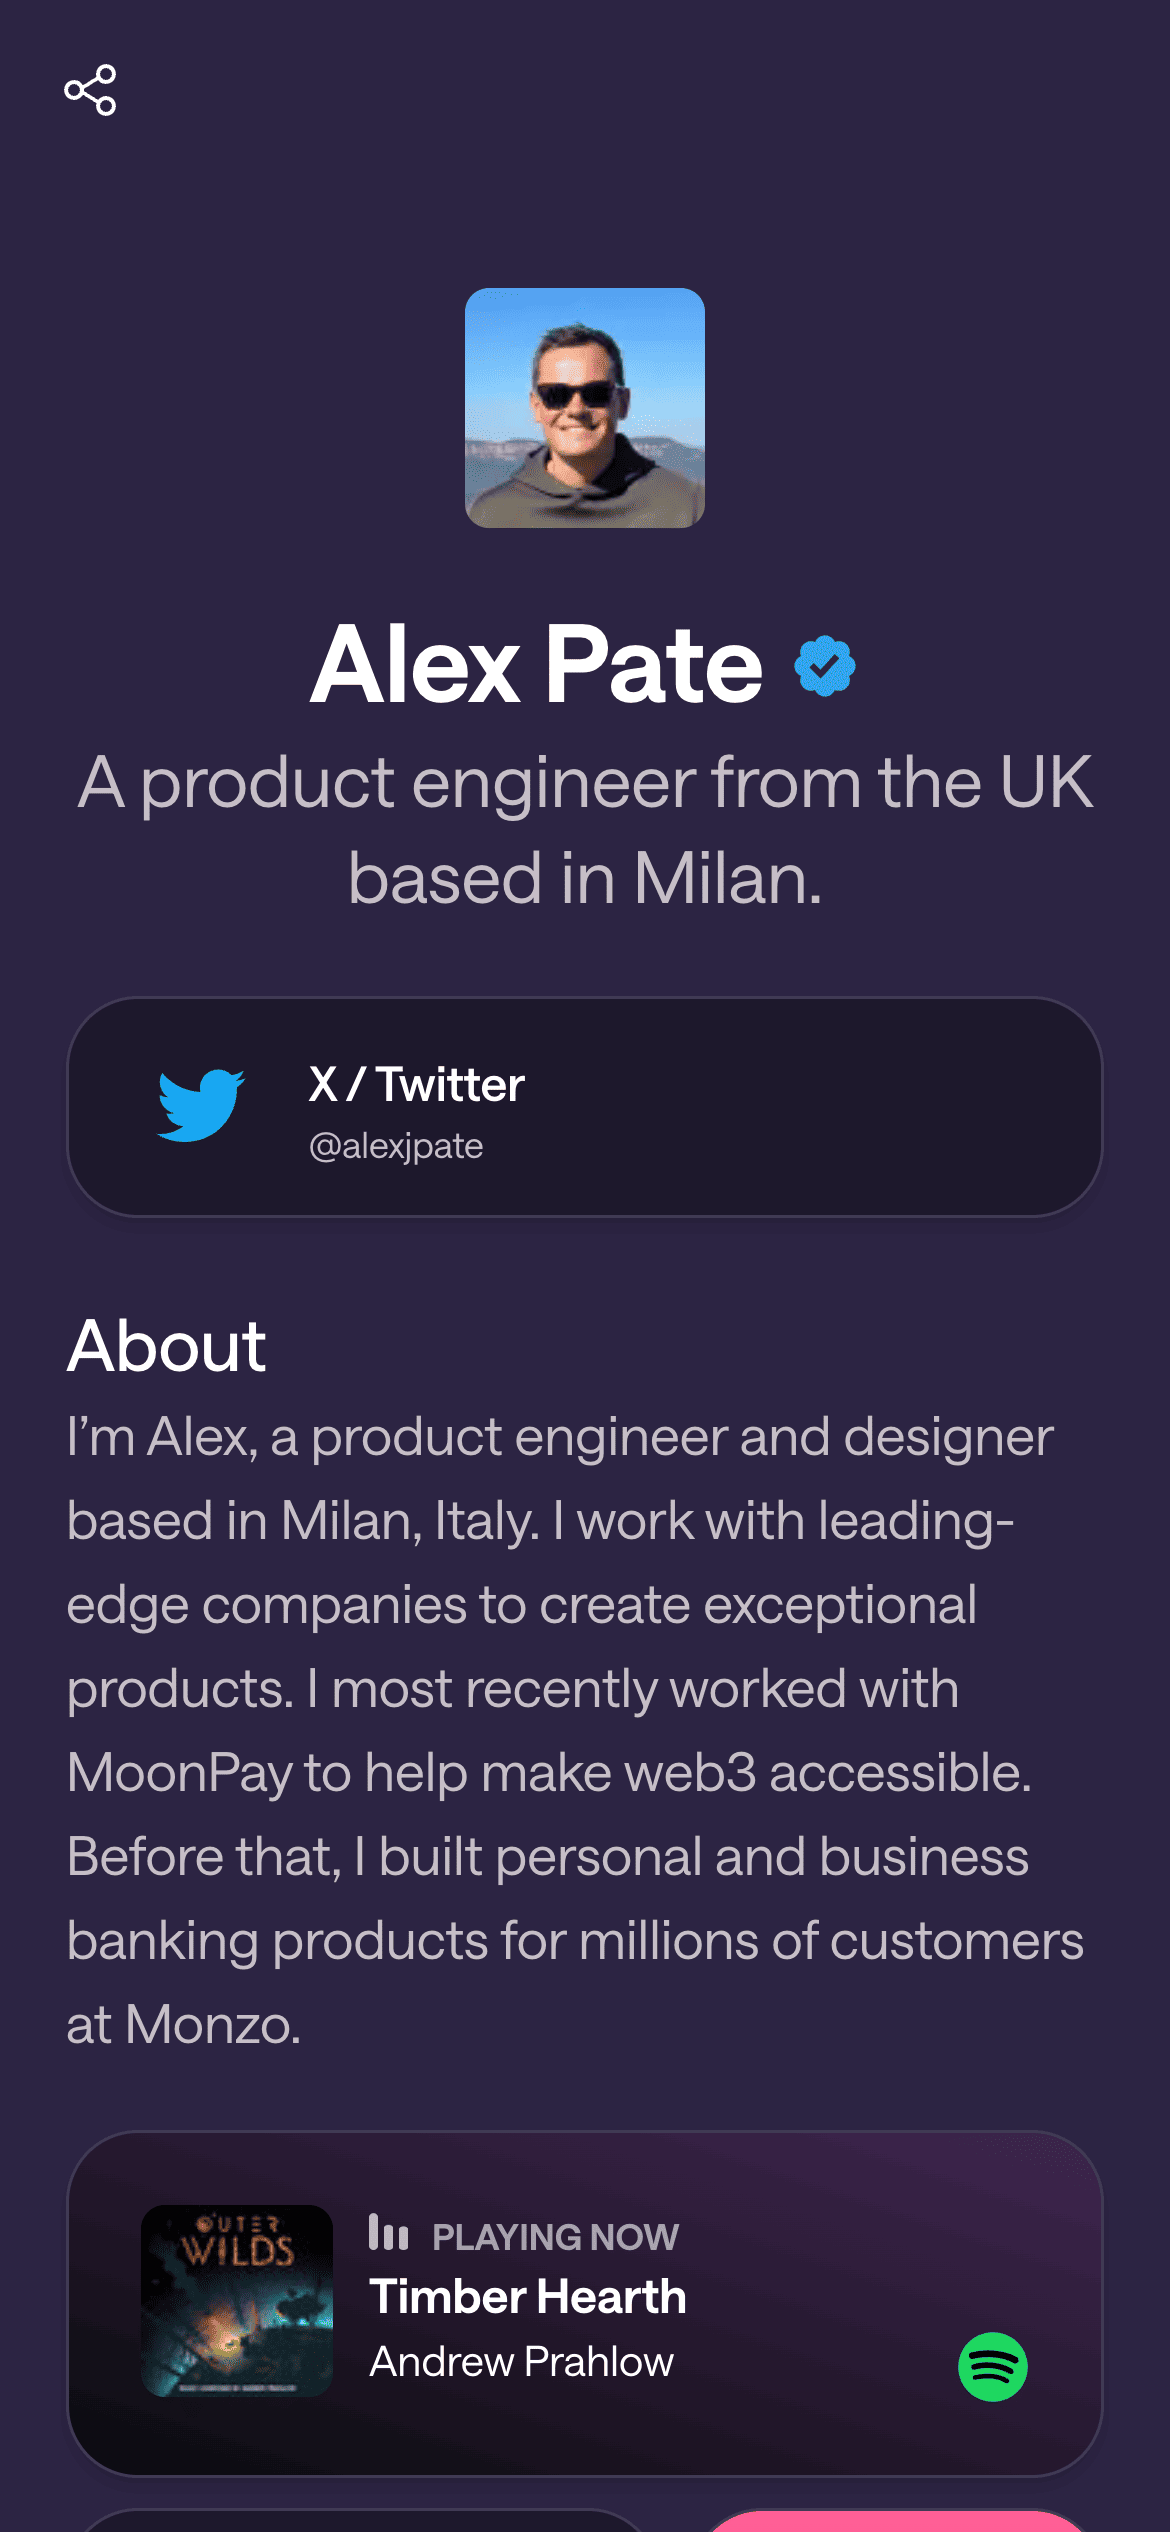
What It Looks Like: A Link Box typically appears as a rectangular button or box on your page, often with an icon on the left, a bold title, and a smaller label or subtitle. For example, you might have a Link Box with the Twitter logo, title “Twitter”, and label “Follow me on Twitter”.
(Screenshot: An example Link Box block with the X (Twitter) icon, title “X”, and label “Follow us on X”)
Adding a Link Box:
In the editor, open the Blocks panel and find Link Box. Drag it onto your page where you want the link to appear.
Click the newly added Link Box to configure it. You’ll see fields to fill:
Title: This is the main text on the box (usually the platform or call-to-action, e.g., “YouTube” or “Visit My Blog”). Make it short and clear.
Label (Subtitle): Additional info in smaller text. You can leave this blank or use it to entice clicks (e.g., “Latest Videos”, “Exclusive Content”, or a brief tagline). The default might be something like “Follow us on X” for a Twitter link.
URL/Link: Paste the full URL the button should go to. Ensure it’s correct (include https:// for external sites).
Icon: Choose an icon image to display on the left of the link. This could be a logo of the service or any graphic. Givee may provide a library of common icons (like the Twitter bird, YouTube play button, etc.) or let you upload your own. By default, it might show a placeholder icon (e.g., an “X” logo for Twitter as shown in defaults).
Show Preview: (Optional) There might be a toggle for “Show Preview”. If enabled, Givee will try to fetch a preview snippet of the link (like an image or description). This works for some websites, but if your link is straightforward or if you prefer a clean look, you can leave this off.
Save or update the block. You should now see the styled Link Box on your page with your icon and text. Click it in preview mode to test that it opens the correct link in a new tab.
Tips for Link Boxes:
Use concise titles (one or two words if possible) so they fit nicely on one line.
Icons make a difference! Using a recognizable icon (e.g., the Spotify logo for your Spotify link) can draw the eye. Givee may automatically provide an icon if your link is to a known site (for example, entering a Twitter URL in the link might auto-set the Twitter icon).
You can add multiple Link Boxes for different links. They stack vertically by default. Feel free to reorder them (drag up/down) in the order of importance.
Styling: Link Boxes will inherit your page theme colors, so they’ll automatically match your design. They might appear as filled buttons or outlined depending on the theme.
Duplicates: Avoid having two Link Boxes with the exact same title/icon (it could confuse visitors). If you need to link the same site twice for some reason, differentiate the label.
With Link Boxes, you have a flexible, attractive way to present links one by one. They are perfect for key actions you want your visitors to take (e.g., “Buy my eBook”, “Listen on Spotify”, “Subscribe to Newsletter”). Go ahead and add a few Link Box blocks to highlight your most important links! 🚀
Try adding a Link Box now for one of your primary links – you’ll see how easy it is to create a great-looking button in seconds!
Let's Build Your Page!
Creating your first page and getting it live takes a matter of minutes. Let's start with your username.